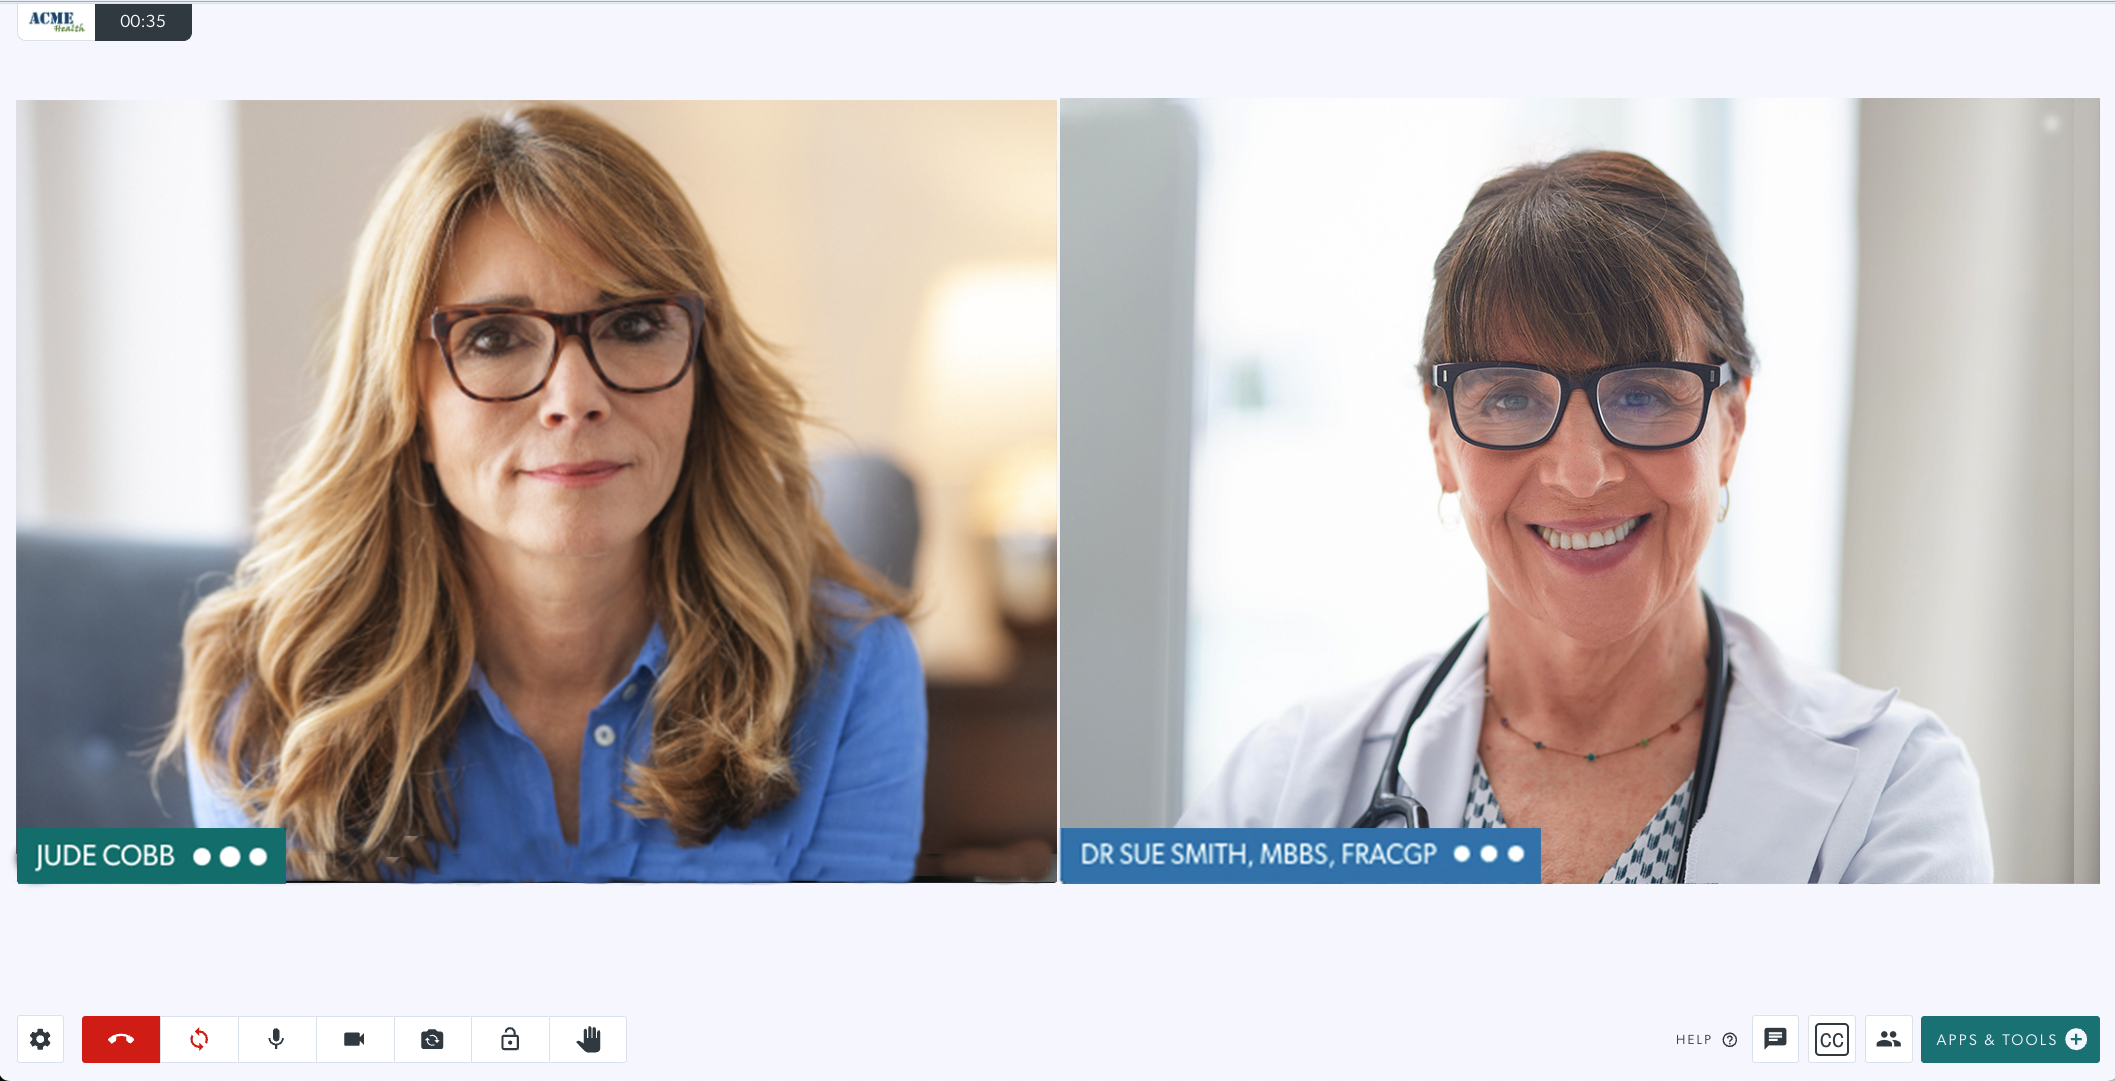
Remote Vitals Application home page
View patient data from health devices in real-time during a video consultation
Please note this functionality is currently in a pilot testing phase.
The Remote Vitals application allows health service providers to view data from Bluetooth and USB connected health devices in real time during a Video Call. Patients can connect their device to the call from wherever they are, reducing the number of in-person visits. Clinicians can access real-time health data and be alerted to any potential issues.
Once you instruct your patient to connect their health device to the Video Call, the data will stream live in the Video Call screen and can take a screenshot and export the data for the patient records. Some devices have the ability to record historical data and this can also be accessed remotely, as required. If this functionality is not available on the health device, the button to access history will not display.
Sending the appointment information to patients
Staff sending the appointment information to patients who will be connecting a monitoring device during their Video Call, can use the following recommendations when sending the clinic link and supporting information. These recommendations show how to send links to patients using iPhone/iPad (Bluefy browser link) or Android devices (Google Chrome or Microsoft Edge), to ensure the patient is using a compatible browser for the call.
Instructions for iPhone and iPad (iOS) users:When sending the clinic link to patients, please be aware that some will be attending their appointment using an iOS device. They will need a special link to attend, that will prompt the Bluefy browser to open. This is easy to create and you can then add to your invitation with clear patient instructions.
Your clinic link can be copied or you can send directly from the platform, using SMS or Email. |
 |
|
SMS or Email When you use this option, the clinic link is automatically added at the bottom of the SMS or Email. This image shows the default text for invitations (which can be edited to suit the clinic needs). |
 |
| You can cover all device options by editing the default text and adding the specific link for iPhone/iPad users. This example shows suggested text for remote patient monitoring appointments, including Bluefy browser link for this clinic. The Bluefy browser allows the patient monitoring device to connect to the call using Bluetooth. The patient will need to install and use the free Bluefy browser app on their device. To create the Bluefy link, copy your usual clinic link and replace the 'https://' with 'bluefy://open?url='. Note that I have chosen the SMS option here, as this means attending the appointment is a simple click on their iPhone or iPad. |
 |
The usual clinic link will appear at the bottom of the received invitation. Example Bluefy information and link are shown in this example. Patients can then click on the relevant link that suits their device. This removes the need to copy and paste the link into the Bluefy browser on iPhone or iPad, which some patients may find challenging. |
 |
| Some patients may prefer to use the WebBLE Browser on their iPhone or iPad - however Bluefy provides a better user experience and is free to download. This example shows suggested text for remote patient monitoring appointments, if requiring the WebBLE clinic link. To create the WebBLE link, copy your usual clinic link and replace the 'https' with 'webble'. Note that I have chosen the SMS option here, as this means attending the appointment is a simple click on their smart phone. Please note: the patient will need to install and use the WebBLE browser on their device. This app costs $2.99. |
Suggested text in Send SMS function
An example of the SMS received by the patient
|
Instructions for Android users:When sending the clinic link to patients, please be aware that some will be attending their appointment using an Android device. They will need to use the Google Chrome or Microsoft Edge browser to attend their appointment - so you can let them know this when you send out the appointment information. |
 |
|
SMS or Email When you use this option, the clinic link is automatically added at the bottom of the SMS or Email. This image shows the default text for invitations which you can edit to give more specific instructions, if desired. |
 |


How to assist your patient to connect their device to a video call
For clinicians: Remote Vitals application instructions
See the simple steps below for instructing your patient to turn on and connect their health device directly into the Video Call consultation,or you can click on Bluetooth for Another User and select the participant to prompt them to connect their device.
| Join the Video Call with your patient and explain that you will be helping them to connect their health device to the call so you can view their results. Please note: You and your patient must use either the Google Chrome or Microsoft Edge browser or the Bluefy browser if using an iPhone or iPad (see Bluefy instructions in a separate dropdown on this page). |
 |
| Ask your patient to turn on their health device and have it ready to use. Then click on Apps & Tools. |  |
|
Next, click on the Remote Vitals app. Instruct your patient to click on Add Device. |
 |
| The patient selects their device from the list to connect it and start sharing the data into the call. Please note, some devices require additional steps to start sharing the data, so check the compatible devices listed at the bottom of this page for any special instructions |  |
| This example shows a pulse oximeter connected to the call and the results showing on the screen. |  |
Configuration options for clinic administrators
Clinic administrators can configure the Remote Vitals application to suit the clinic requirements.
| Clinic administrators go to Apps > Installed Apps > Remote Vitals and click on the Details button. In the pop-up window, click Configure. |
|
|
There are various configuration options.
The App Display name can be updated and this name will show in Apps & Tools.
Display units are set to Metric by default. |
|
| You can set which types of connections are enabled for the app. Bluetooth is enabled by default, as the majority of digital health devices will be Bluetooth enabled. |
|
|
Allow delegated Bluetooth trigger enables the Bluetooth for another user button in the app. This can assist the patient with connecting their device into the call.
Network connections are off by default, and can be enabled if the clinic uses any health devices that need to be connected via the network, rather than Bluetooth or USB. |
|
|
Allow API/Parsys connections allows a Parsys telemedicine station to connect to the call.
Allow email exports allows a host in the call to email the data to a nominated email address while the call is active. |
|
|
Allow patient screenshots if you would like participants to be able to take screenshots of the data within the app.
Allowed export formats allows you to select the export formats available in the clinic.
|
|
| This image shows the export formats options box. |
|
|
Tutorial: first time walkthrough automatically opens the tutorial for a clinician the first time they use the app in their browser and device.
Patient follows clinician view enables the view to change for the patient whenever the clinician changes their view. |
|
|
Message bus transport is set to Streaming by default and is recommended.
Auto-switch view on device add can be left on default, which is enabled. This shows the best view once the device is connect into the call. |
|
| Click Save at the bottom of the config window if you make any changes. |
|


Information and instructions specific to types of monitoring devices
Please click the tiles below for information regarding how to use the Patient Monitoring Device App to connect a patient's medical device during a Video Call consultation, as well as information regarding browsers. These links contain information for clinicians and patients specific to the device type, including videos and quick reference guides.
 Pulse Oximeters
  ECG Devices
 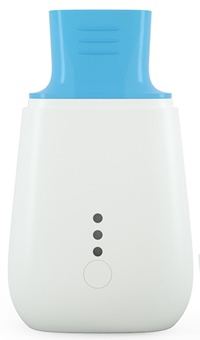 Spirometers
  Thermometers
  Blood Pressure Monitors
  Digital Scales
  Blood Glucose Devices
  Telemedicine Stations
Other medical devices integration
To see other compatible medical devices, such as general examination cameras, scopes and vision glasses, please visit this page. If you would like to discuss the real-time physiological monitoring capability, including integration of other devices, or would like more information, please contact:
- Sam Georgy, Video Call Service Director: sam.georgy@healthdirect.org.au