Configure the clinic Waiting Experience
Organisation and Clinic administrators can manage the waiting experience content for callers to their clinic
Organisation and clinic administrators can configure the waiting experience for callers to their clinics, including options to add custom waiting content or play waiting music and add audio announcements. Organisation administrators can set the waiting experience at the organisation level, which will then apply to any newly created clinics (read more here). Clinic administrators have the option to override any configured organisation waiting experience, if required.
Custom Waiting Experience gives each clinic options to provide waiting content that suits the needs of the patients or clients accessing the clinic waiting area. Please note, there is a Healthdirect content option available in all clinics and this is available by default for all clinics that do not have audio announcements already configured in the clinic.
Customised Images, videos, audio recordings and announcements (mp3 files) can be added to your clinic waiting area custom waiting experience. Select the options below for more information:
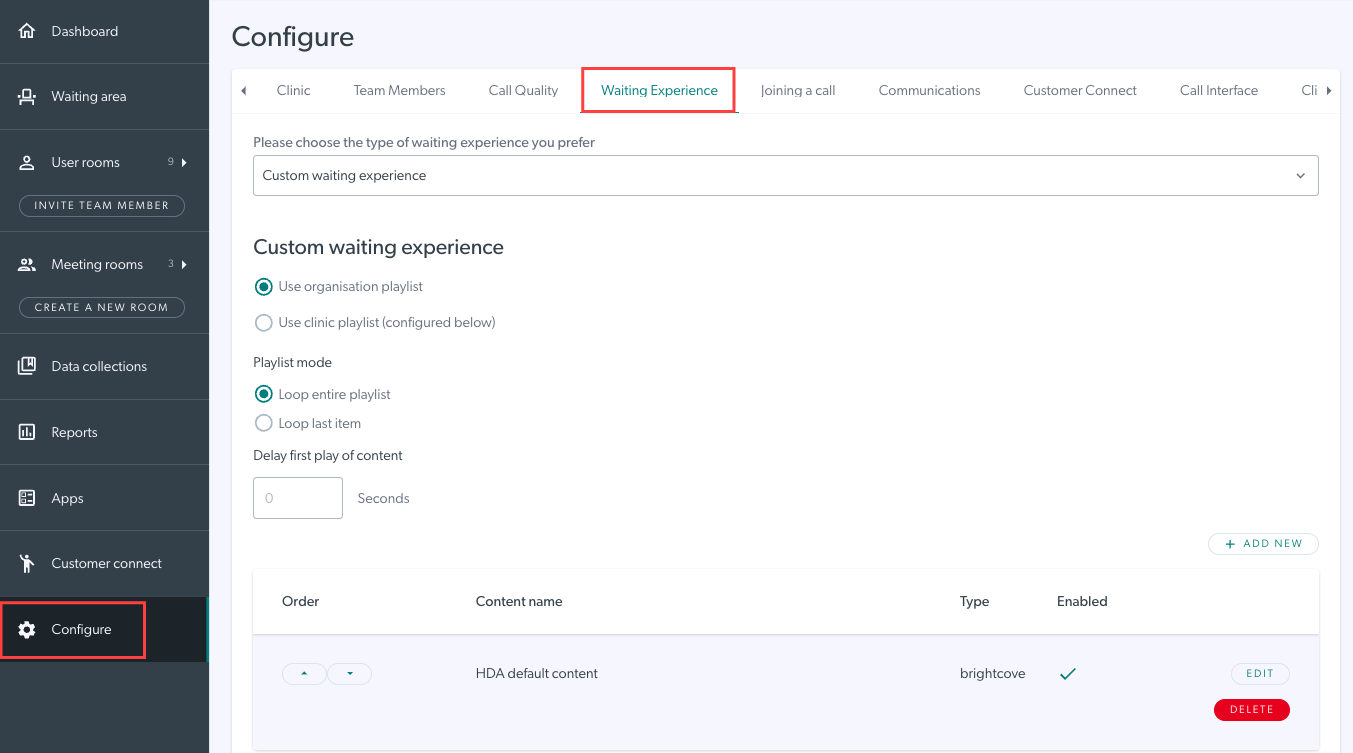
Choose the waiting experience type for your clinic
| From your Clinic waiting area page click on Configure, then click on Waiting Experience. |
 |
| Choose the type of waiting experience for the clinic. The options are Waiting Music, which allows you to choose the genre of music and add any audio announcements, and Custom Waiting Experience, which allows you to add custom content. | 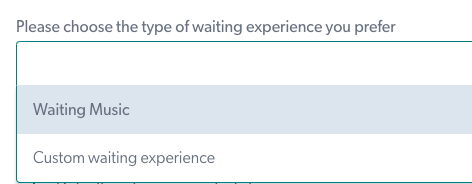 |
|
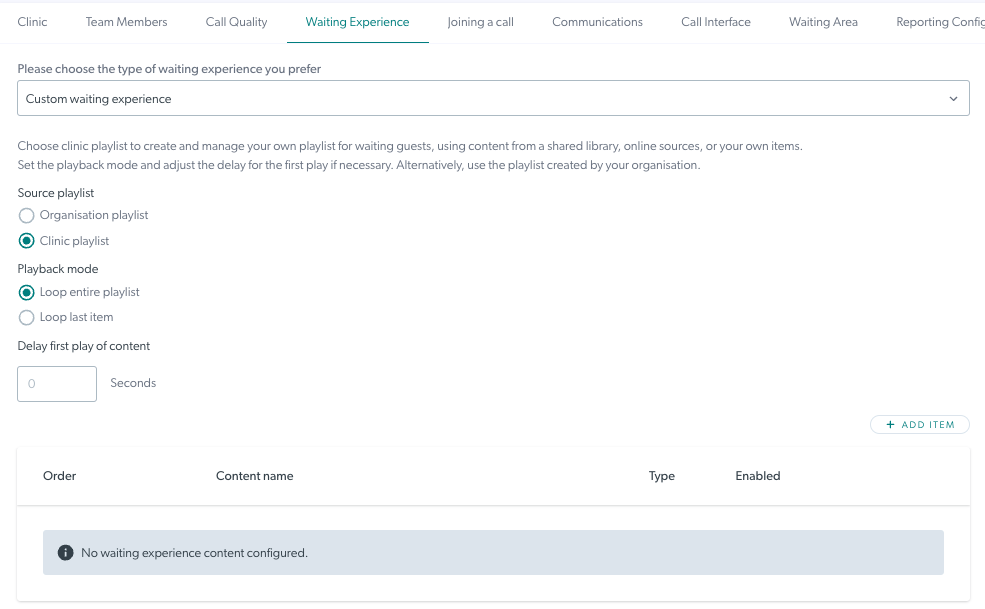
Once you have made your selection, the configuration options will display. See below for more details. |
 |
Waiting Music configuration (including Audio Announcements)
To allow your callers to listen to waiting music and any configured audio announcements, select Waiting Music as the experience type.
| From the dropdown menu under Default waiting music playlist, select the desired genre for your waiting patients to listen to while they wait for their consultation to begin. Click Save to save your selection. |
 |
|
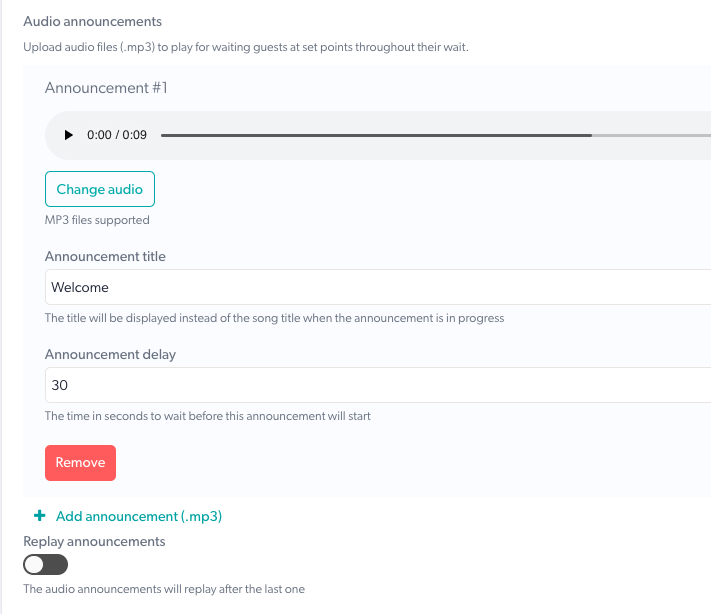
Under Audio announcements you can click on Add announcement, if desired. Navigate to your mp3 audio file and click Open to upload it.
|
 |
|
Clicking on your announcement opens up configuration options. You can change the file if required, give the announcement a title and set the delay time in seconds. Once the caller is waiting for the set delay time, the announcement will play and the music will pause until the announcement is played. Add as many announcements as you require. Enabling Replay announcements will set them to replay at the set delay times, once the last announcement has finished playing. |
 |
Custom Waiting Experience configuration
The Custom Waiting Experience option allows the flexibility to add a wide range of content to your playlist for waiting callers. The options include images and audio, as well as YouTube, Vimeo and Brightcove video links. See below for more information.
|
Under Custom Waiting Experience, you can choose to use the Organisation playlist (configured at the Organisation level and filtering down to clinics, or Clinic playlist which overrides the organisation configuration. Organisation playlist is the default option and this will have a Healthdirect video content option configured. If you want to keep this option you do not need to make any configuration changes.
|
 |
|
Choosing Clinic Playlist allows you to set up a unique custom waiting experience for callers to your clinic. You can choose to loop the entire playlist (default option) or the last item in the playlist. You can also choose a delay for when the content plays for a waiting patient once they access the Waiting Area, if desired. You can then configure the playlist, which can contain one or more files or links. |
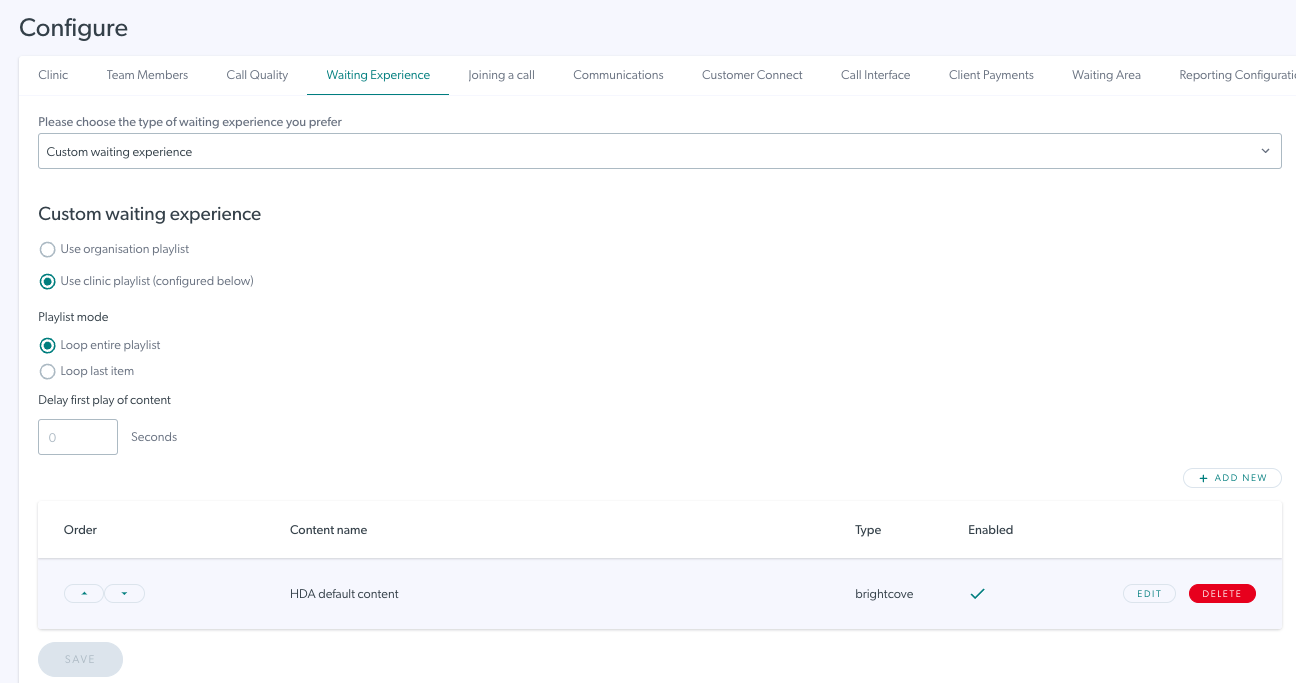 |
| Start creating a playlist by clicking on Add Item and adding new content. |  |
|
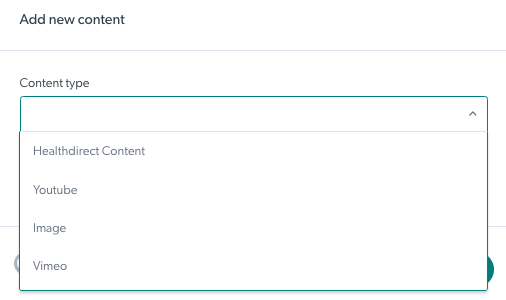
In the selection box, select the type of content from the drop-down options:
|
 |
|
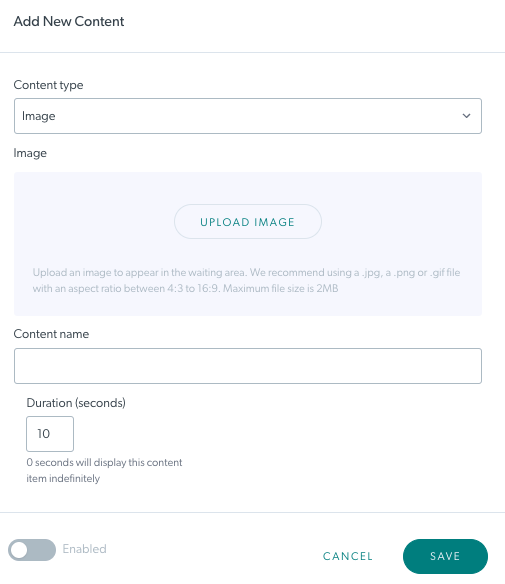
In this example we have selected Image. Click on Upload Image, navigate to your image location and select the desired image. Please Note: Allowed image formats are .jpg, .png or .gif files with a maximum file size of 2MB. |
 |
|
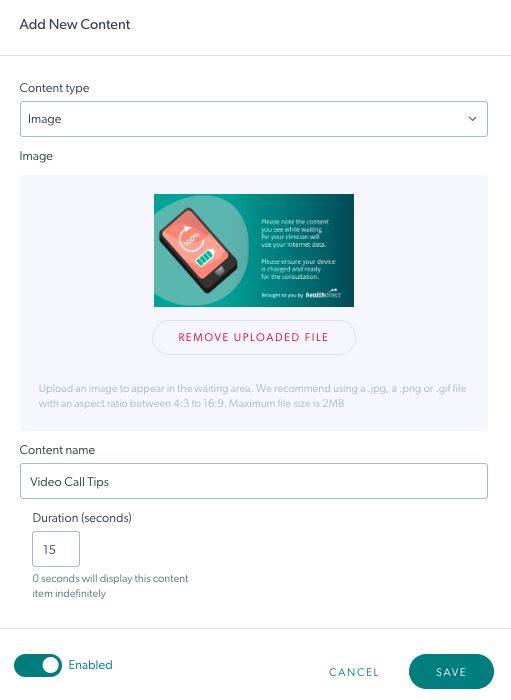
Once the image is selected, give the content a name and a duration (the length of time to display the desired image). Click Enabled to allow this content to play in your playlist. Then click Save. |
 |
| Your content will be added to the playlist for the clinic. Click Save to save any updates to the playlist and it will then play for waiting callers in the clinic. |  |
| To add more content to the playlist, click Add Item again and add the required content. This example shows how to add a YouTube video, using the YouTube link. | 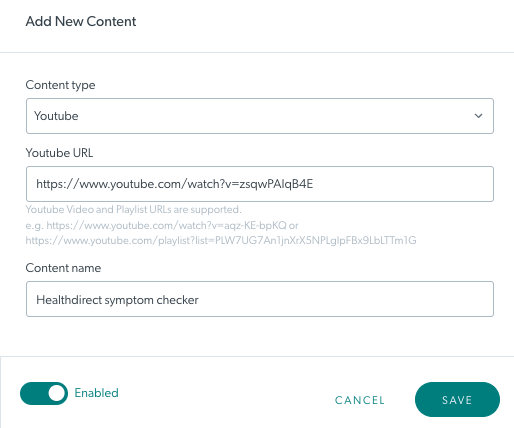 |
|
Once added and saved, the content will be added to your playlist.
|
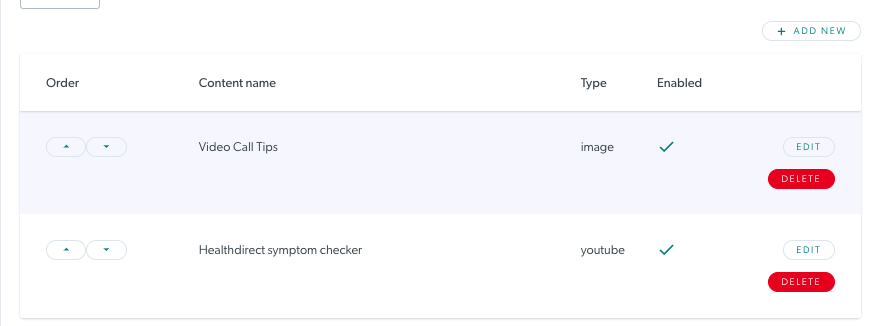 |
|
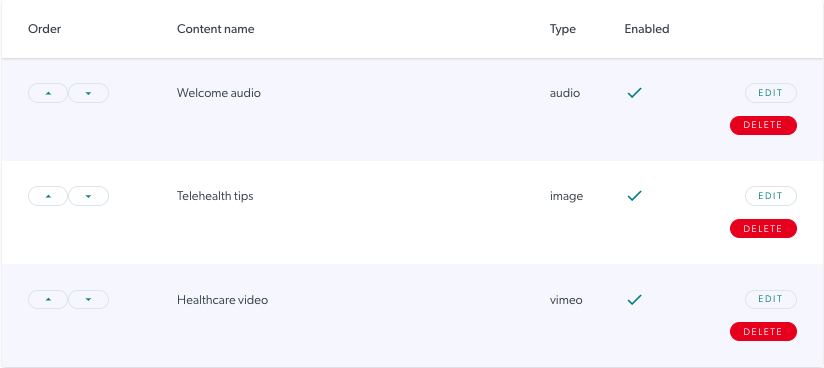
Add as many items as you require. You can have one playlist configured per clinic and the content items will play in the order specified. Use the Up and Down arrows to the left of each piece of content to change the order, as required. Remember that you can disable a piece of content so that it remains in the list but does not play for waiting callers. |
 |